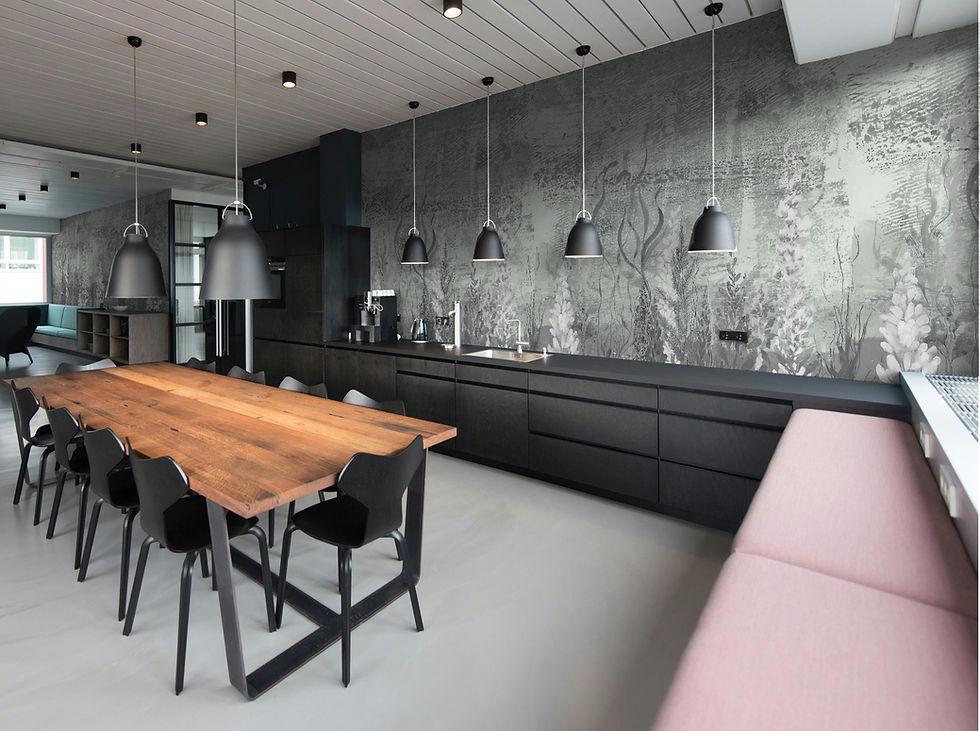
How to Prepare Your Walls for Wallpaper Application
- Guillermo
- May 3
- 4 min read
Preparing your walls for wallpaper is a crucial step that can significantly impact the quality of your finished project. Whether you're a DIY enthusiast or looking to hire professional wallpaper installation services, knowing how to ready your walls can make or break your wallpapering experience. Let’s dive into the essential steps for successful wallpaper preparation.
Wallpaper Preparation
Before you dress your walls with beautiful wallpaper, it’s essential to prepare them properly. This process ensures that the wallpaper adheres well and lasts for years. Let's break down the steps you need to take to get your walls ready.
Step 1: Remove Old Wallpaper
If your walls are already adorned with old wallpaper, it’s time to say goodbye. Start by peeling off the existing layer. Use a wallpaper scraper to aid in this task. Some wallpapers might require moisture to loosen the adhesive. In that case, apply a wallpaper removal solution or a mixture of warm water and fabric softener to the edges, and allow it to soak for a few minutes before scraping.

Step 2: Clean the Walls
Once the old wallpaper is removed, it’s time to clean the walls. Dust, grease, and grime can affect the adhesive quality of the new wallpaper. Use a sponge or cloth with a mild detergent solution to wipe down the walls thoroughly. This cleaning step will ensure that your new wallpaper can stick well and won’t lift over time.
Step 3: Repair Any Damages
Take a good look at your walls. Look for cracks, holes, or uneven surfaces that need fixing. Use spackling paste to fill in any holes or imperfections. Once the paste has dried, sand the areas down until they are smooth. If your walls have significant damage, consider applying a patching compound or getting a primer to help create a better surface for the wallpaper.

Step 4: Prime the Walls
Priming is a critical step that many homeowners overlook. Applying a primer will create a smooth surface for the wallpaper and allow the adhesive to work more effectively. Additionally, if you’re dealing with a darker or more textured wall, a primer can help you achieve better results. Use a roller to apply an even layer of primer and allow it to dry completely before moving to the next step.
How Much Does Wallpaper Cost Including Installation?
Understanding the cost involved can help in budgeting for your wallpaper project. On average, wallpaper can range from $3 to $20 per square foot, depending on the brand, material, and design. When you factor in wallpaper installation, services typically add another $2 to $8 per square foot, which may increase based on the project's complexity and the installer’s expertise.
Always get a quote before committing to any expenses to avoid surprises.
Step 5: Measure Your Walls
Before making a purchase, it’s critical to measure your walls accurately. Use a measuring tape to calculate the height and width of each wall you will wallpaper. Don’t forget to account for windows, doors, and any other architectural features. Many wallpaper brands offer guides on how much wallpaper to purchase based on your dimensions, so consult these to ensure accuracy.

Step 6: Choose the Right Wallpaper Type
There is a vast selection of wallpaper available, and choosing the right type is vital for a successful application. Consider the material, such as vinyl, fabric, or paper. Vinyl wallpapers are ideal for kitchens and bathrooms due to their moisture resistance. In contrast, fabric wallpapers offer a unique texture for living spaces. Your choice should reflect the room's purpose and your style preferences.
Step 7: Gather Your Tools
Before you start, make sure you have all the necessary tools. These include:
Wallpaper adhesive or paste, according to your wallpaper type
Wallpaper smoother or brush for application
A utility knife or wallpaper cutter
A straight edge or ruler for cutting
A measuring tape
A sponge for smoothing out air bubbles
Having everything ready will streamline your project and help it go smoothly.
Preparing for the Application
Once you’ve completed the wall prep, and you’re satisfied with the state of your walls, it’s time to get ready for wallpaper application. If you're hiring professionals or need specific guidance, you can consider looking into wallpaper installation services for expert help.
Tips for a Successful Wallpaper Application
Start at the Right Place: Always begin applying wallpaper in a corner or near a window for optimal alignment.
Work with Dry Walls: Make sure the walls are completely dry after cleaning and priming. This prevents mold and other moisture-related issues.
Be Patient and Precise: Take your time measuring and aligning the wallpaper. Rushing can lead to mistakes that cost time and materials.
Use a Seam Roller: After applying each strip, use a seam roller to ensure tight adherence.
Enjoying Your New Wallpaper
Now that you’ve prepped your walls and (if you've chosen to do so) applied the wallpaper, step back and admire your work. Decoratively finishing touches, such as trims or moldings, can also positively enhance the overall aesthetic.
If you followed the instructions discussed in this article, you should have wonderful walls that add character and charm to your space. Remember, the magic often lies in preparation, so never skip a step in this crucial process. Happy wallpapering!


Comments